Image Map
Showing posts with label Budget Tips. Show all posts

January 13, 2014

How To Stay Healthy On A Budget


The teaching profession has a lot of great perks...but the salary is not usually one of them. Through the years, I've learned some tips and tricks that helped me stretch my teacher's salary, all while working around my busy teaching schedule. During this series, I will be sharing them with you! 

This week's tip....

How to stay healthy on a budget.


Losing weight or getting healthy is at the top of many of our New Year's Resolution Lists this year. Maybe you fall into that category...or maybe you're just looking for some easy ways to incorporate a few more healthy habits into your daily life.

Being a teacher can make living healthy seem like an impossible task. We picture trying to fit going to the gym into our crowded schedule and making our moderate salary stretch to cover buying healthy foods...and we just give up.

Living a healthier life doesn't have to be for the rich or those lucky few who actually get a *real* lunch break. I've put together a list of a few simple ways you can incorporate healthy habits into your school year without busting the budget:


1. Drink more water. It really doesn't get much cheaper than this, folks. We all know that drinking more water has been found to help your health in numerous ways. (Here's just a few.) Grab a large, reusable water bottle and fill it with ice each morning. Leave it on your desk and you will have a cold refreshing drink at your fingertips all day. This is especially good for those of you who love to sip your soft drink all day. Replace that can with this water bottle and you'll not only save calories, but you'll save money too. Need some more flavor than water provides? Take a cue from my hubby and add a low-cal, sugar-free powered drink packet to your bottle of water. {Picture Source}


2. Get a few extra minutes of sleep. I know, I know. This is soooo hard to do. Why don't we just take baby steps, m'kay? Try going to bed 5 or 10 minutes earlier to start. If this just won't work at night (because you just can't miss this week's new episode of Downton Abbey. #LoveThatShow), then maybe try to iron your clothes or pack your lunch the night before so you can wake up a few minutes later. Getting a good night's sleep is crucial to your body's ability to stay healthy. I tend to lay awake thinking about things when I should be sleeping. So for me, this would mean I would need to just start 'winding down' before I go to bed so that I am more relaxed by the time my head hits the pillow. {Picture Source}


3. Eat oatmeal for breakfast. It is much cheaper than cereal and way healthier than a frozen waffle. To give it some flavor, throw cut-up fruit on top or sprinkle in a little brown sugar. We actually eat a lot of oatmeal around these parts and to make it a quick-and-easy meal in the morning, we just throw two fist-fulls of oatmeal into a bowl, add just enough water to cover the oats and throw it in the microwave for 2 minutes. Mmmm, I am getting hungry just thinking about it! {Picture Source}


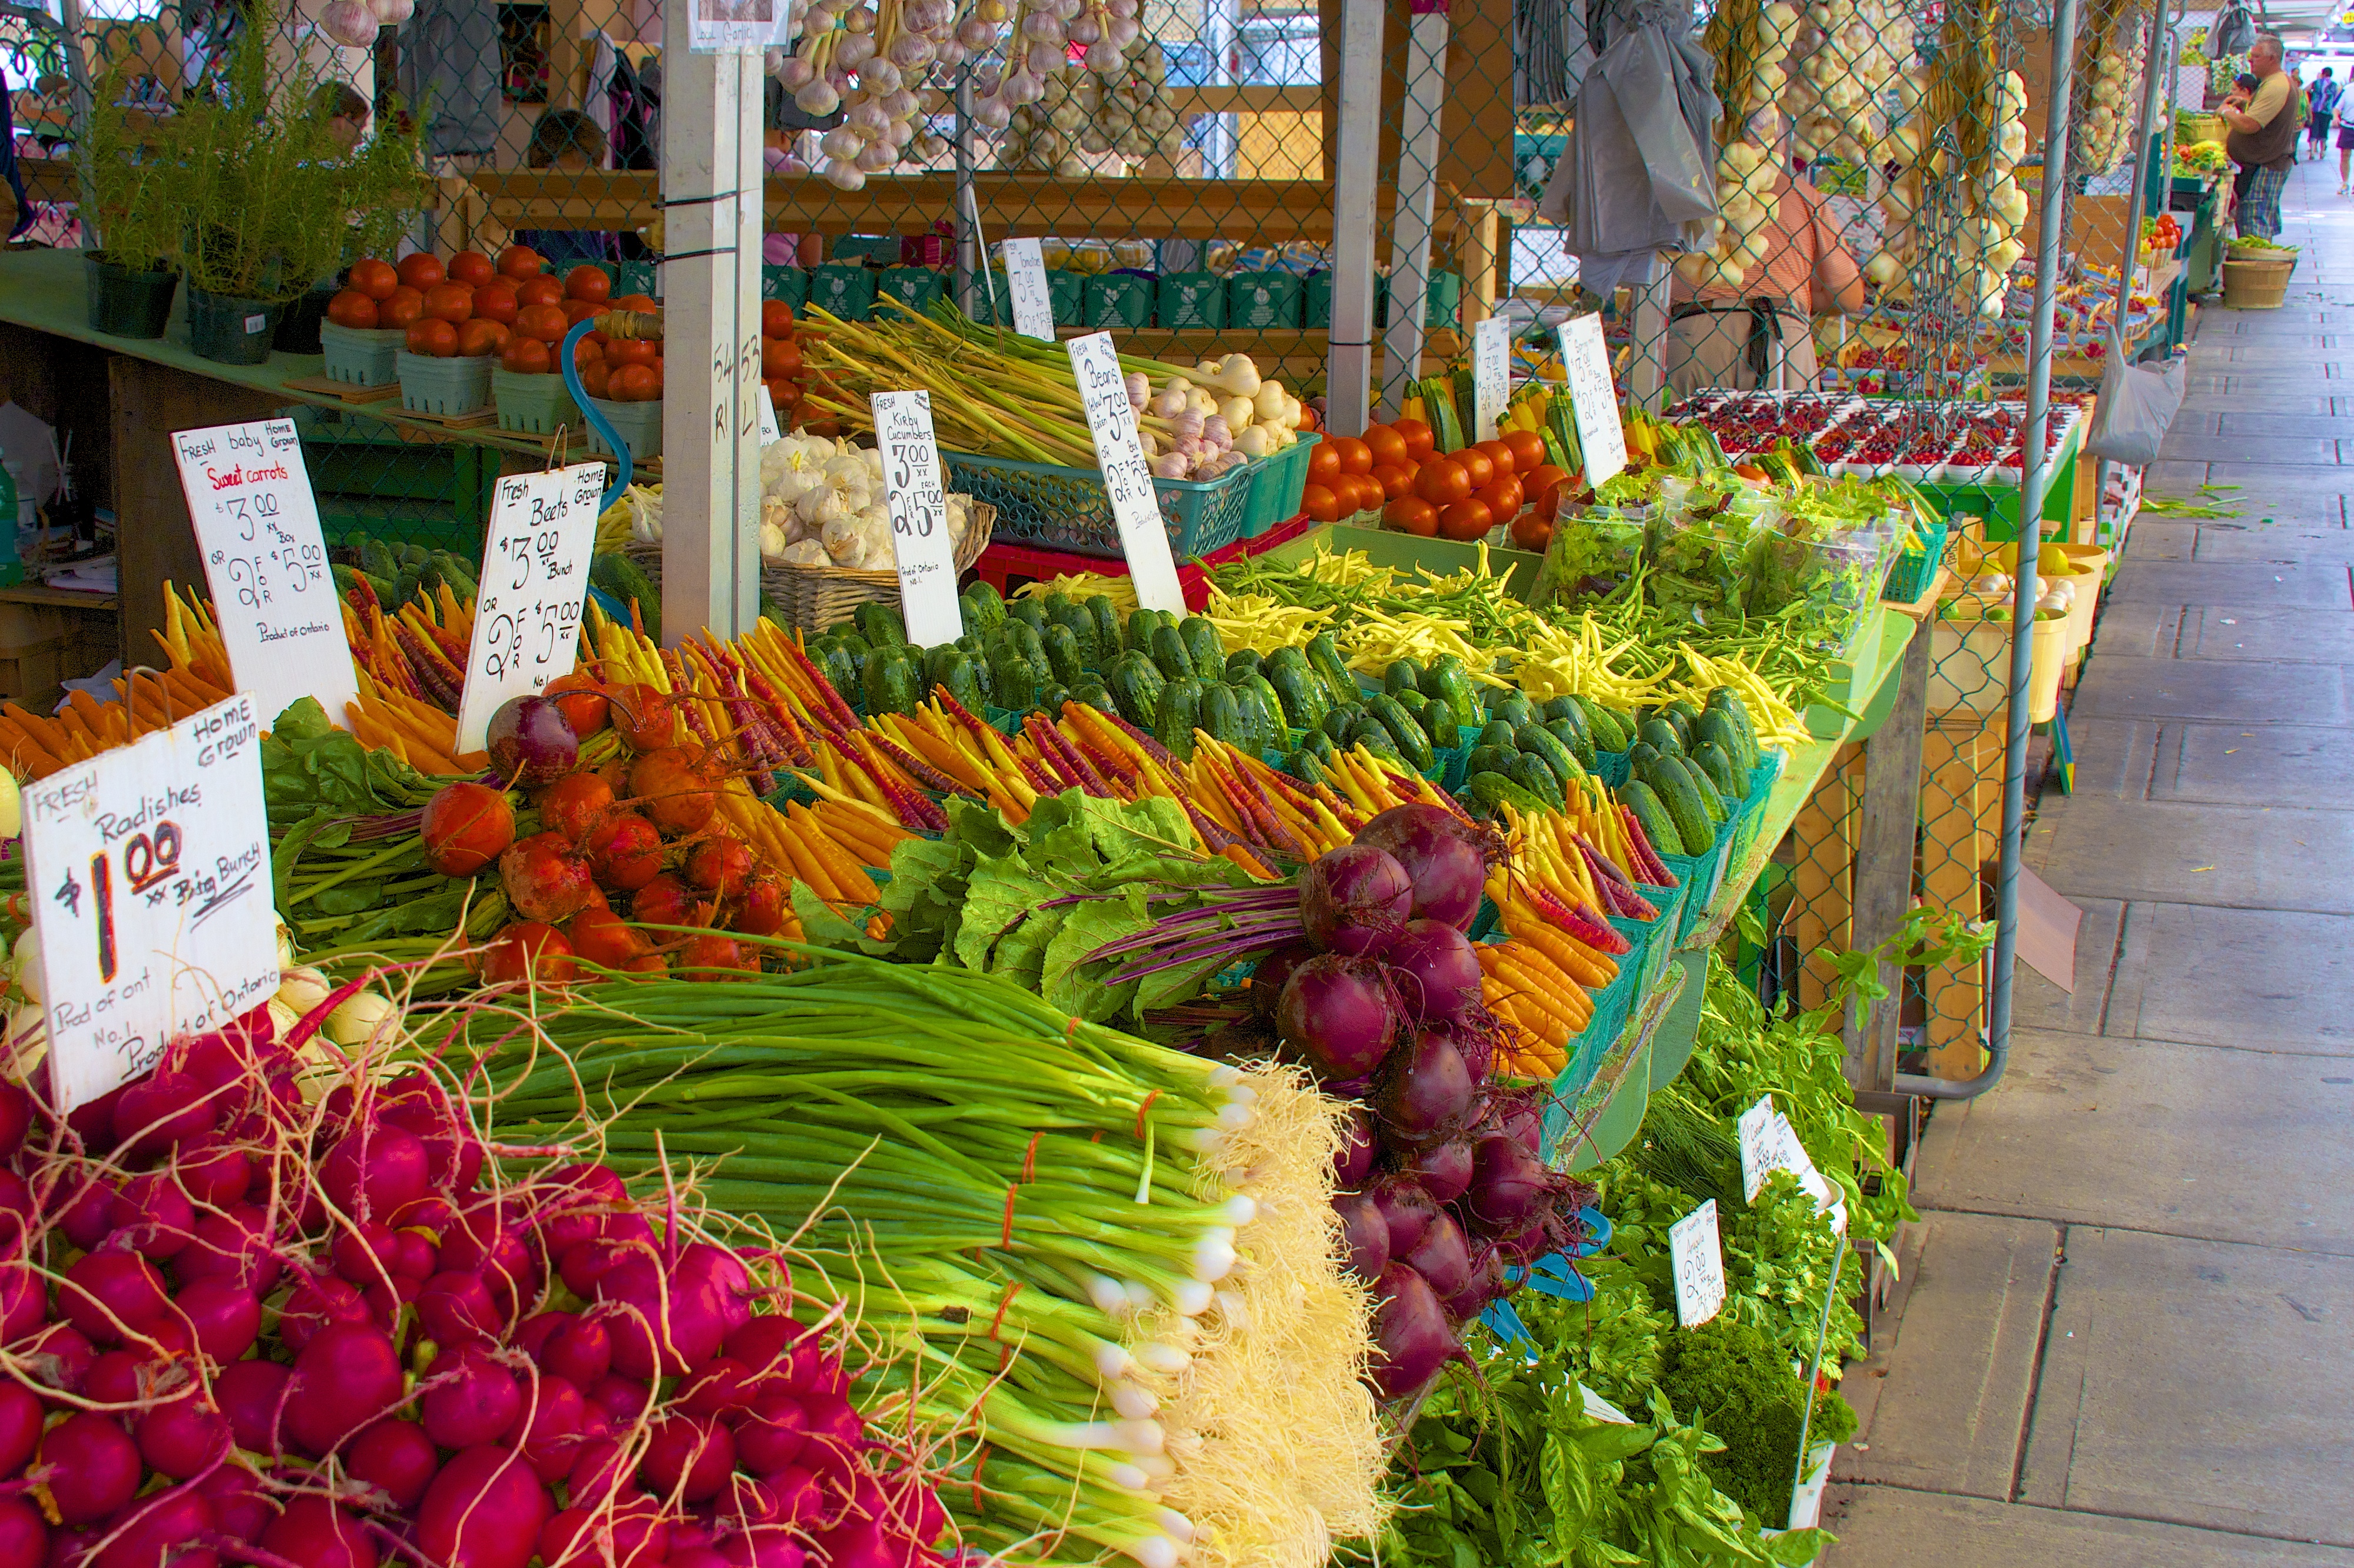
4. Eat a lot of in-season or frozen produce. Buying fresh produce is great for your body, but it can take a huge chunk out of the budget. To keep costs down, but still get your vitamins, choose produce that is in-season. I used to buy most produce when it was under $1 per pound. Since prices have risen lately, that number is slightly higher now. That might mean you eat a larger amount of apple-recipes in the fall, slice and freeze sweet potatoes like crazy in the winter (so you can enjoy those sweet potato fries in the spring!), and save those strawberries for a summer-time treat. {Picture Source}

Another great way to save money and still get high-quality produce is to purchase frozen fruits and veggies. Often, these are cheaper than their fresh counterparts and some have even suggested that they are healthier since they are frozen directly after being picked- locking in nutrients- instead of sitting on trucks and store shelves before making it to your dinner plate. {Picture Source}

That reminds me- try freezing fresh fruits and veggies. Some frozen u-pick July blueberries will taste great in October over that oatmeal you're going to start eating ;) A few things we've frozen are corn, sweet potatoes, peppers, blue berries, strawberries, peaches, green beans, peas, and carrots.We will often just spread them over a cookie sheet to freeze them quickly, then transfer them to a freezer bag. (This keeps them from sticking to each other in the bag.) {Picture Source} 


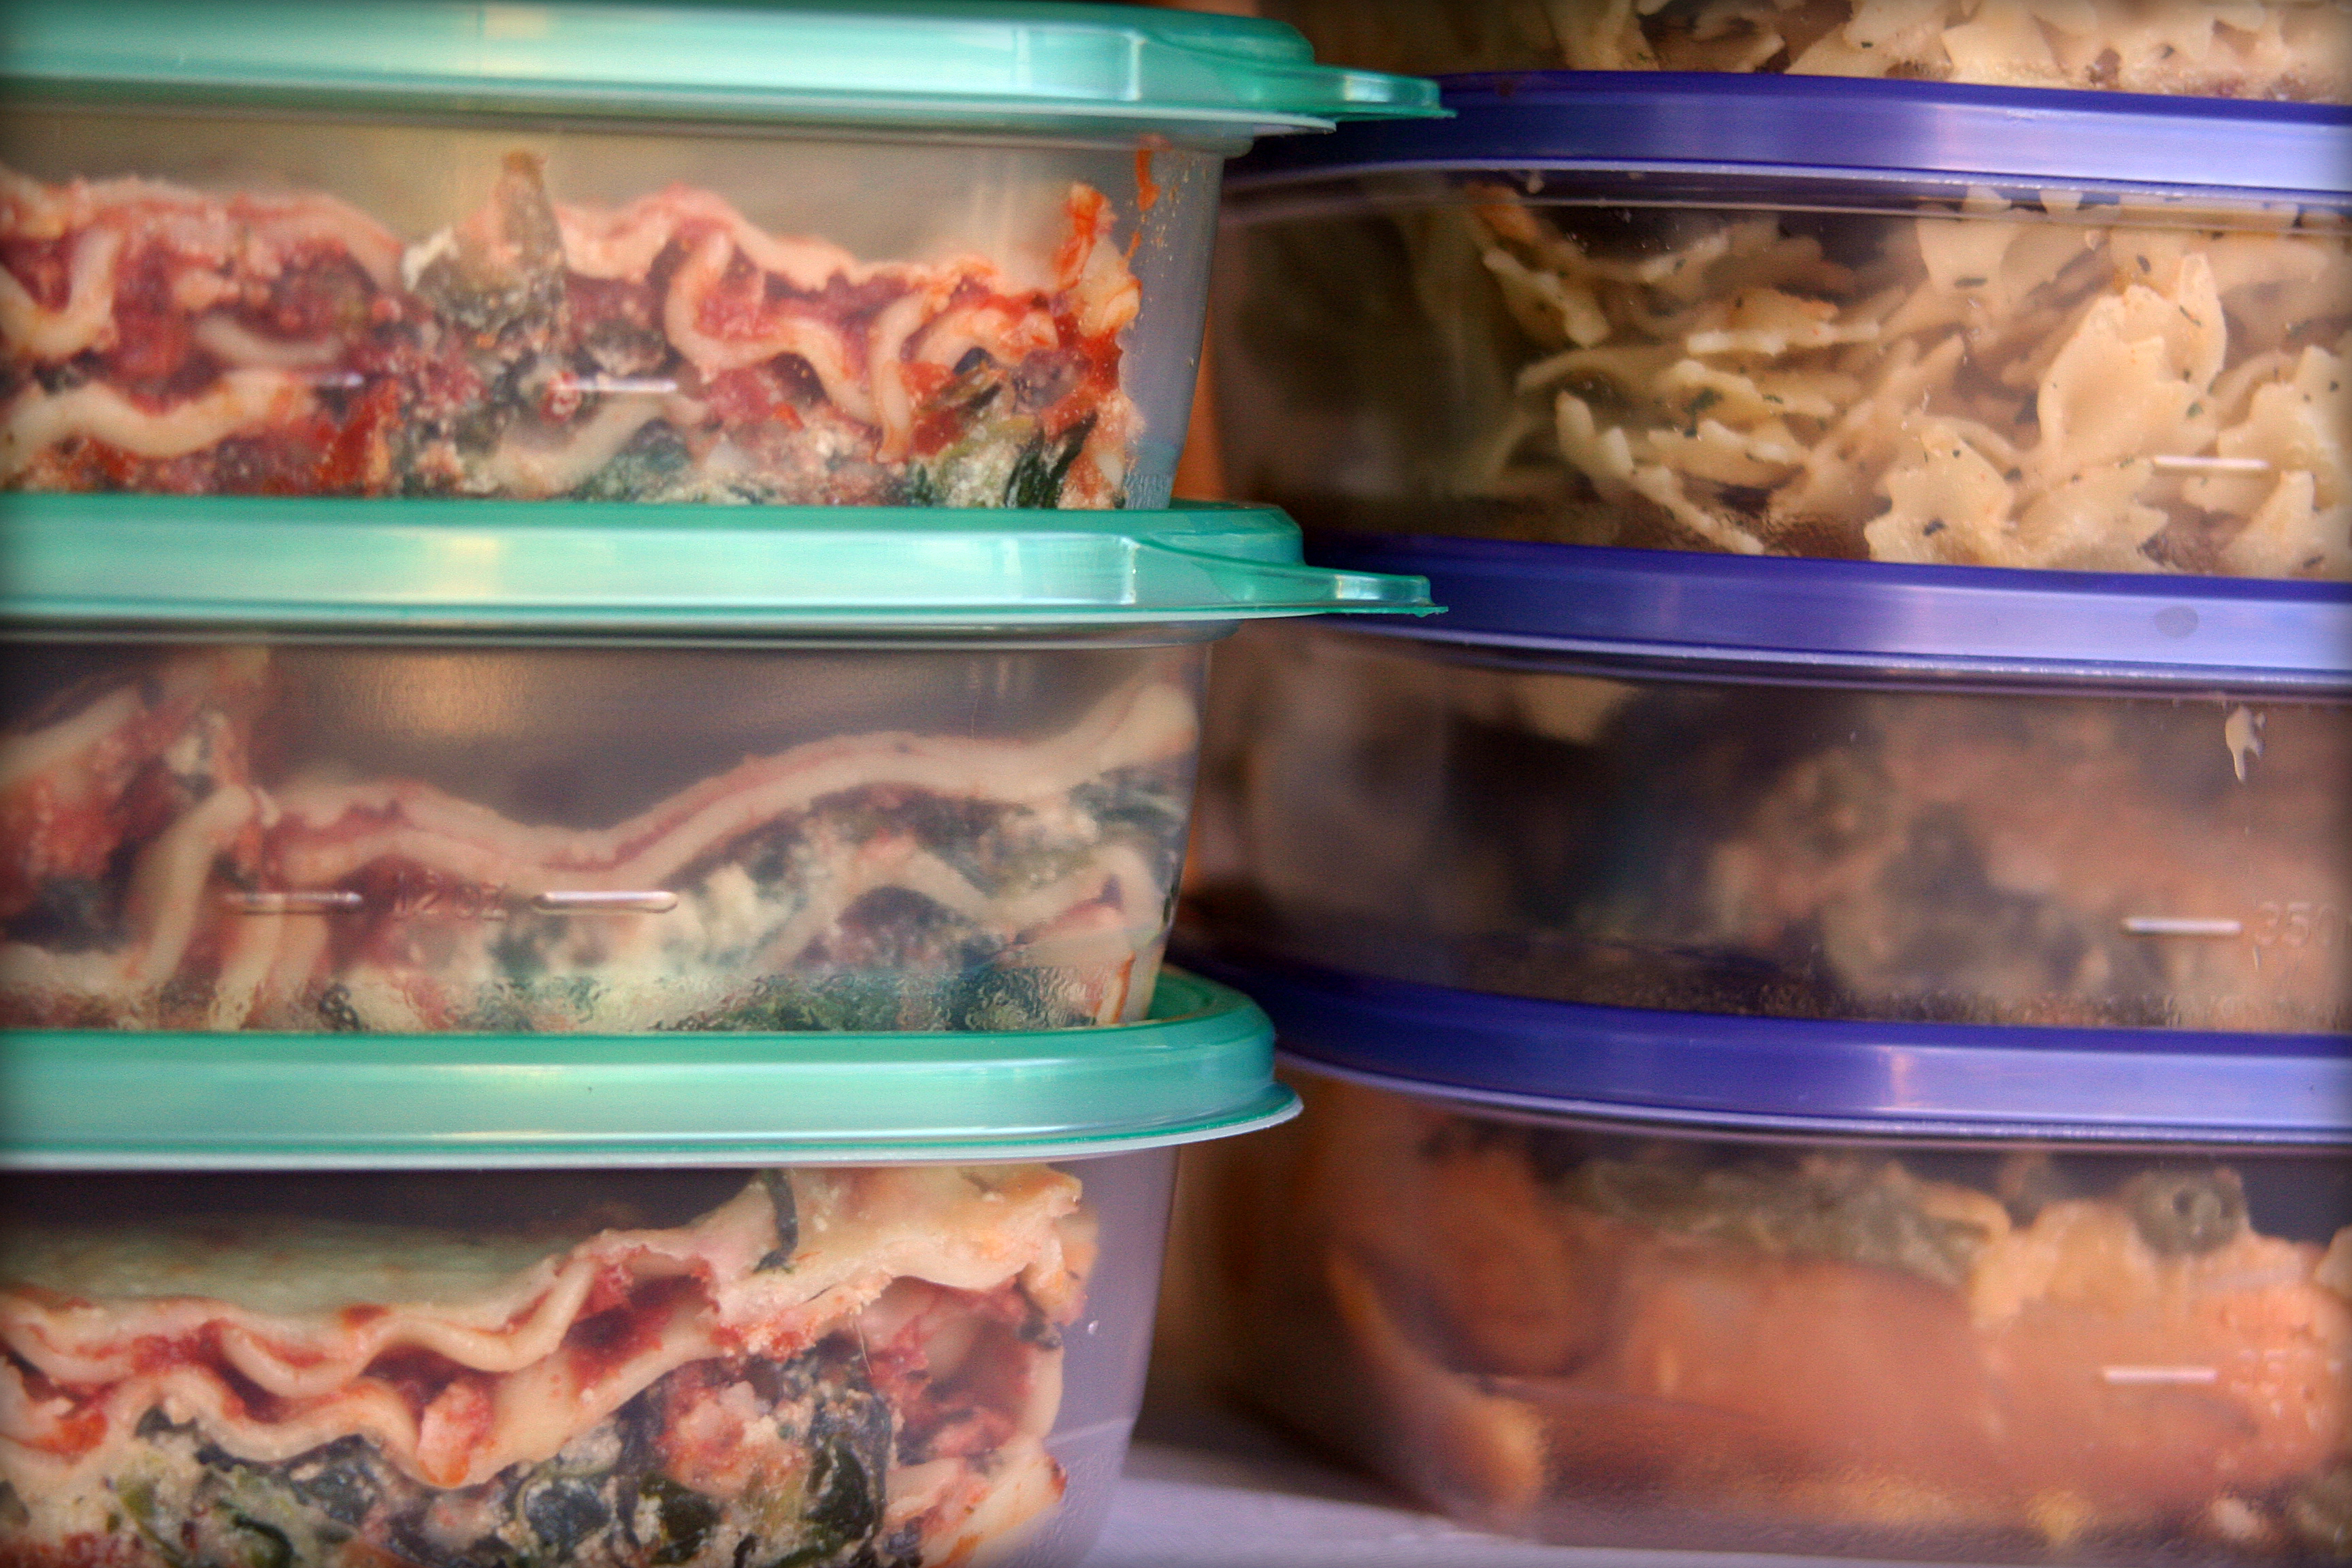
5. Cook freezer meals (and help avoid those fast food runs). Oh, I remember those days when I would call the hubby on my way home from work and say 'Quiznos okay for dinner?' or the weekly 'Let's meet at the Mexican restaurant.' By the time 5 o'clock rolled around, I couldn't even fathom how I'd have the energy to pick out a meal, make it, eat it, and clean it up....so fast food it was! After a while, my budget- and my thighs- started protesting this little habit and I had to find a new solution: Freezer cooking. I've shared why I love this before, along with some easy freezer recipes that we've really enjoyed, so I'll just let you re-read those posts if you're interested. I'll just sum it up by saying that the 2nd best feeling in the world is coming home exhausted after a long day to a dinner that simply has to be put in the oven. (And in case you're wondering, the best feeling in the world is that moment you drive out of the school parking lot on the last day of school... you know the one: where the sun is shining brightly and the birds are whistling a Disney song as you put on your blinker.) {Picture Source}


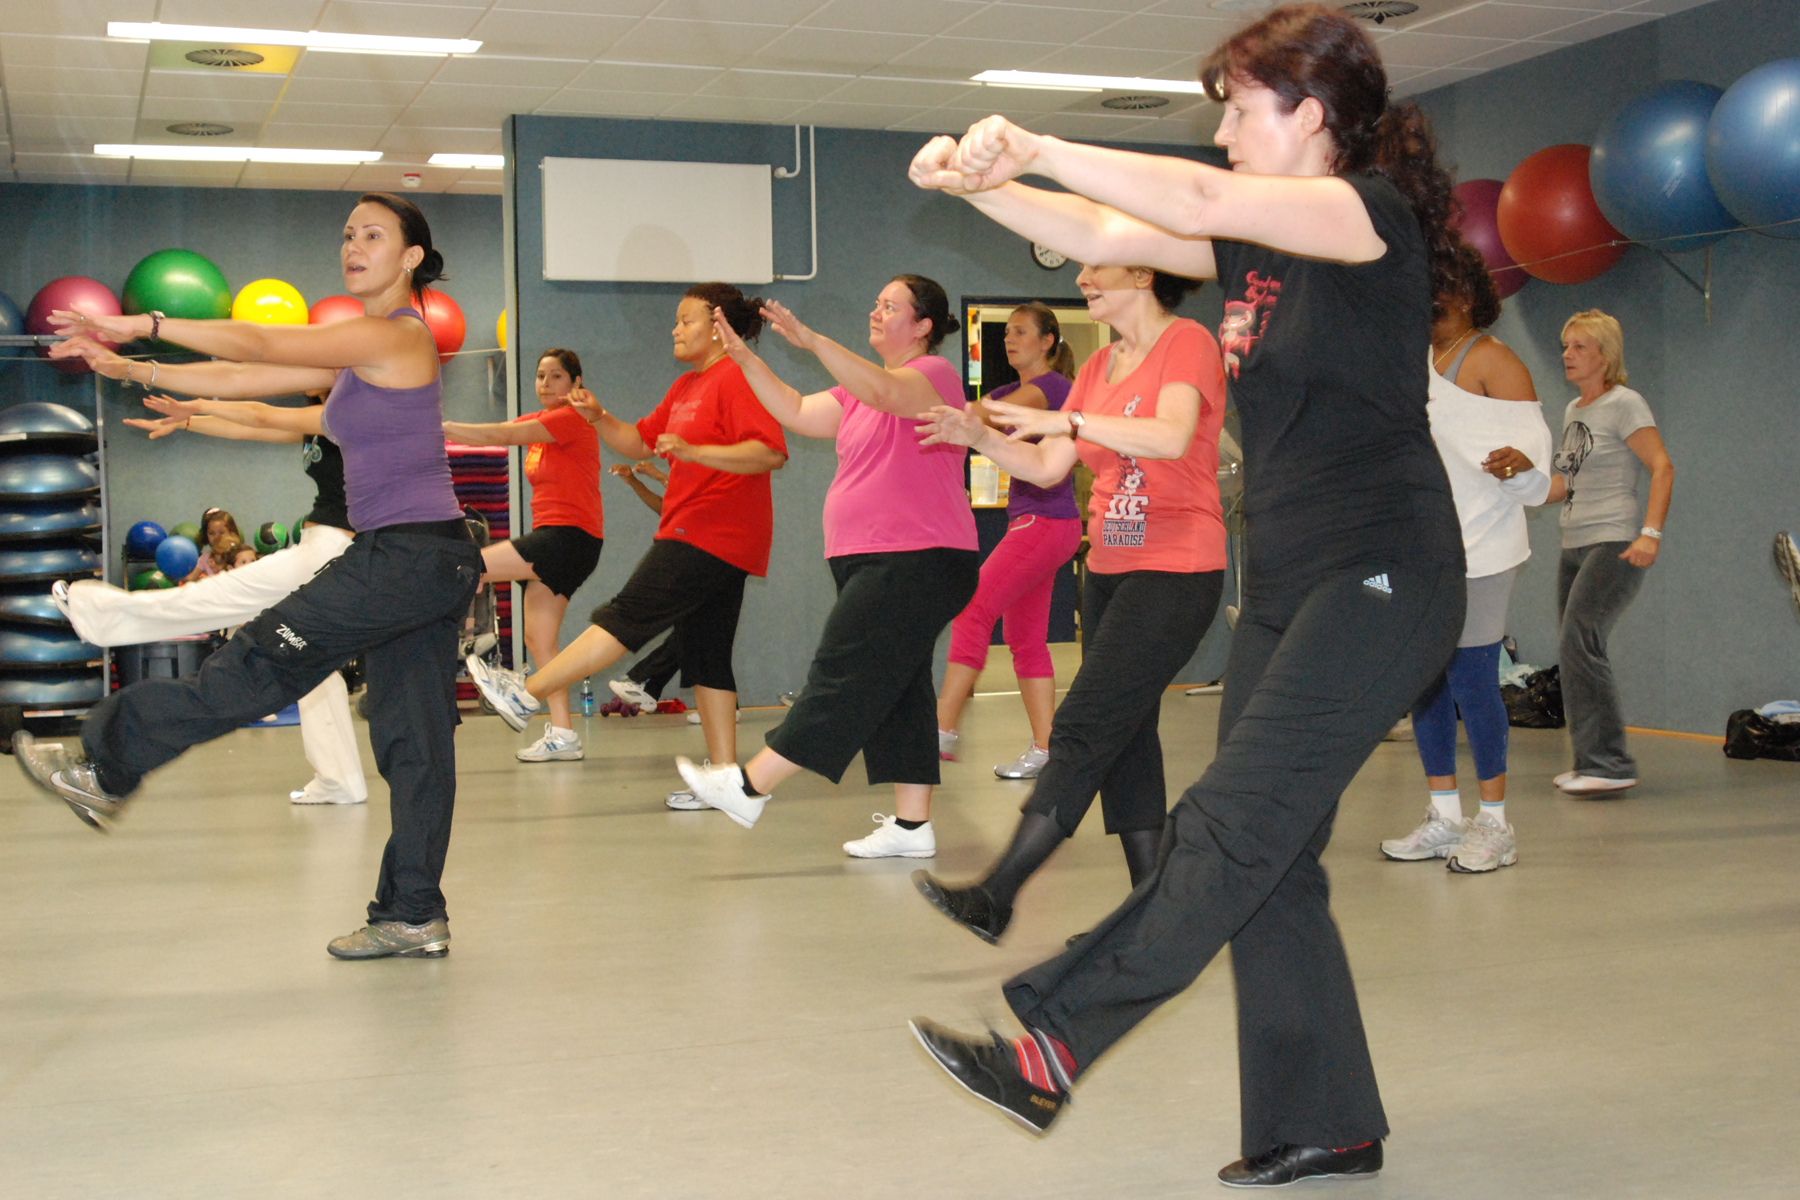
6. Start an after-school aerobics class at your school. One of the schools I worked for actually did this and I thought it was a great idea! They just wheeled one of those tv-on-a-cart things into the gym at 4 pm every day and did a 30-minute dvd workout together. It was more fun than doing it alone and the accountability was great. Some teachers even organized an unofficial 'Biggest Loser' challenge with weigh-ins at the nurse's office each week. {Picture Source}


7. Grab a buddy and go for a walk.  Not interested in the dvd aerobics class in the school gym? Just find a friend or two and take a walk each day before you head home. It could be around the school grounds, the track out back, the neighborhood around your school, or just make a loop of the halls. You might be surprised to find that eight trips to and from the office might just equal a mile. My mom takes a walk around the neighborhood each day on her (one and only) break from work- wish I had her genes! {Picture Source}


8. Fit a few little exercises into your daily routine. Our day is made up of a million little routines. Add a few 30 second exercises into these routines to help you burn those extra calories. Do 25 leg squats before you pick the kids up from art. Do 30 sit ups every morning before you take your shower. Do 10 push ups before you leave your room for the night. Get your kids involved too- the entire class could do 15 jumping jacks before they can line up for recess. {Picture Source}


9. Run with your kids. Have your kids run one lap around the playground or field before they go to recess...but don't forget to go with them! It won't burn that double mocha latte any quicker if you just watch. ;) Bonus: We all have one or two kids who usually just choose to sit or lay around during recess. This routine will give them at least a minute or two of movement. {Picture Source}


10. Stock your desk with healthy snacks. Hello, my name is Kaitlin and I am a snacker. If it's sweet or crunchy, I will eat it (unless it's not supposed to be crunchy...like crusty raisins or something). My choice in snacks at school was usually to raid the candy prize box (Hello, my name is Kaitlin and I steal candy from small children.) The only way to combat this was to remember to keep my drawers stocked with healthier options like almonds, granola bars, apples, or oranges. {Picture Source}


11. Bring your lunch to school- but make sure it's packed with healthy options. Grab a piece of fruit or a bag of carrot sticks to go along with that sandwich. Here are some ideas for freezer lunches you can make ahead of time and just throw in your bag in the morning. They'll be thawed by lunch. Or grab a bag of granola and a container of yogurt for an easy, no-fuss meal. {Picture Source}


12. Try eating Greek yogurt. It's so much healthier than regular yogurt. If you have a hard time stomaching plain yogurt (like my husband), try the dessert-like flavors and gradually work your way over to the less sugary kinds. Adding granola or a handful of berries can really improve the texture as well. You could also freeze the yogurt in popsicle molds- or just freeze those Go-Gurt syle yogurt tubes- for a sweet and healthy snack. {Picture Source}


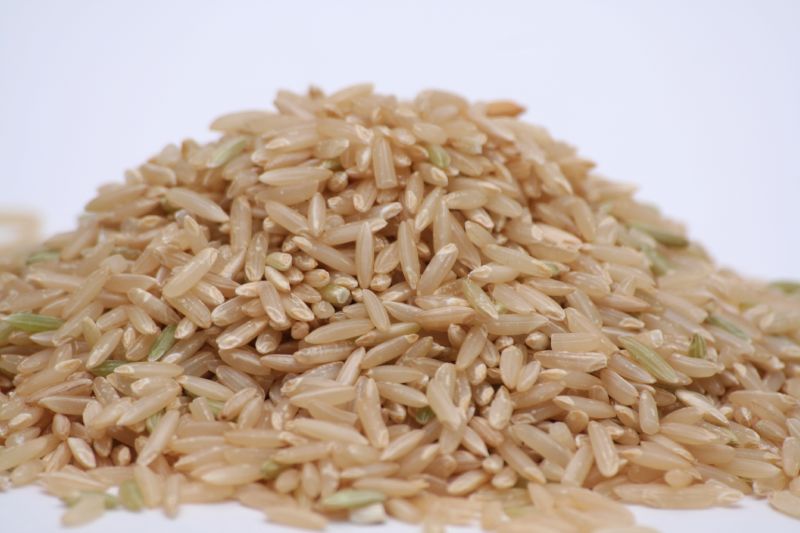
13. Eat healthier grains. Sub brown rice for white, wheat noodles for regular ones, and wheat bread for white. This one might take a bit of getting using to. To help with the rice and noodles, start by just mixing the two types together and gradually work toward a dish that is 100% whole grains. While not always the most affordable option, quinoa- while it tastes like a grain- is actually a HUGE source of protein. {Picture Source}


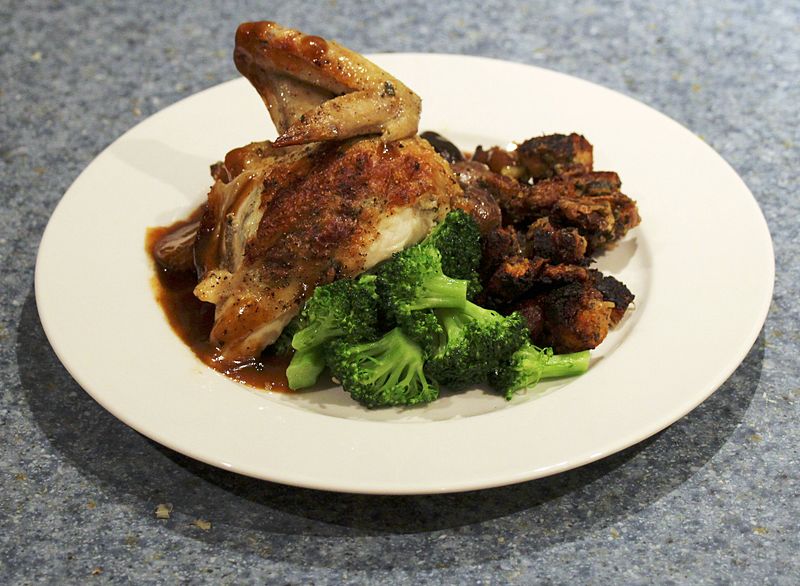
14. When you eat out, ask for a take-out box as soon as your food comes. Put half of your dinner in the box right away and eat the rest. You still have the option to eat what's in the box if you find you're still hungry...but you may be surprised to realize that you are full instead. Bonus: You will also have some great leftovers to take to school for lunch tomorrow! {Picture Source}


15. Limit portion sizes when you are dishing up your plate. It's easy to think you are hungry enough to eat all that mac-n-cheese when scooping it out, but take smaller portions anyway. You can always go back for seconds...then again, you might not ;) To make this easier to stomach (get it? heehee), try using smaller plates to give the illusion that you're dishing up enough food. {Picture Source}


16. Take the stairs or the long way. Usually, we teachers are all about being efficient and using every minute of our day wisely. However, if you have two options for walking somewhere (ex: to pick your kids up from art), pick the longer way. Every little bit helps. (Unless you are extremely late picking your kids up. In that case, just kick off those shoes and run. We do not want to make our resource teachers mad, amIright?) {Picture Source}


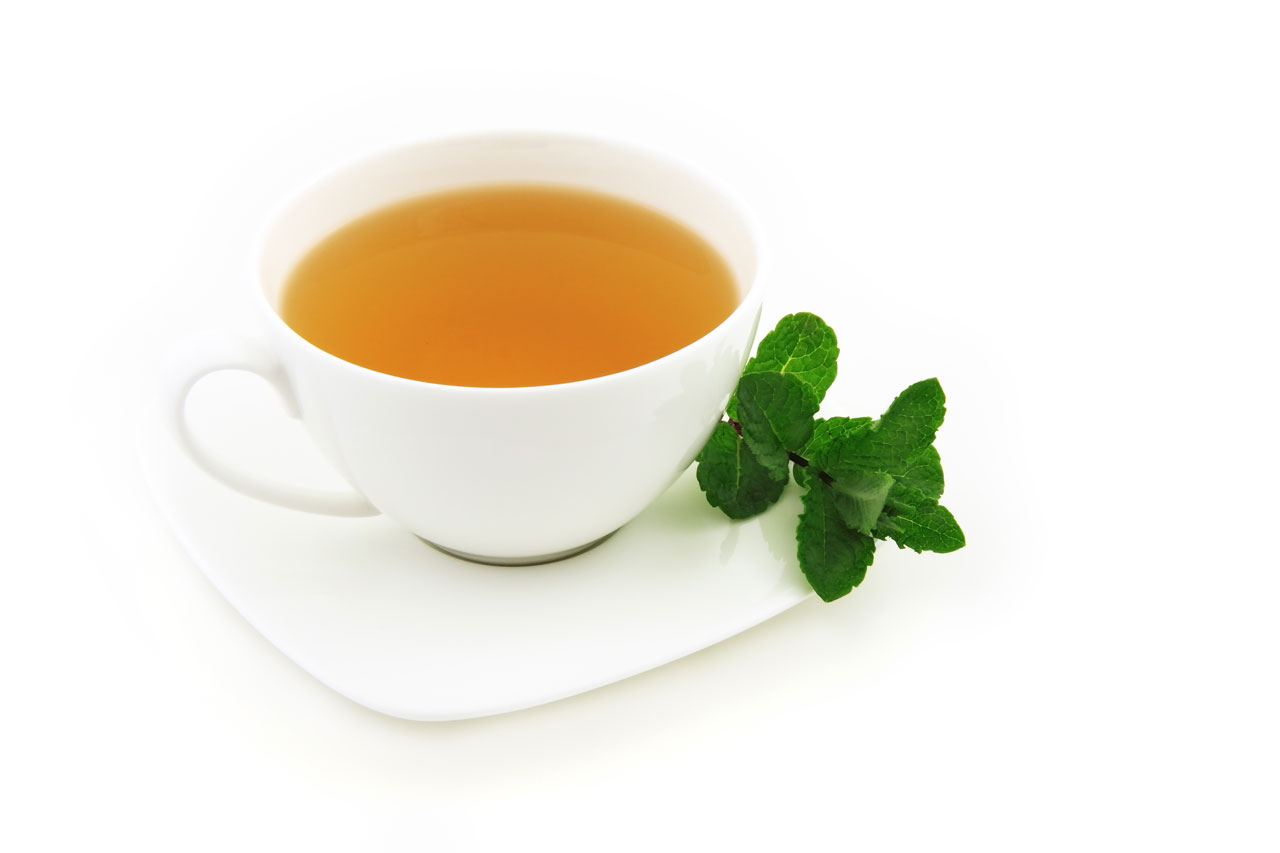
17. Swap out a non-water drink with tea (the healthy kind, for all you sweet-toothed southerners!). My mom often mixes apple spiced tea with green tea to get the healthy benefits with a bit of yummy flavor too. Put this in a thermos before you leave for work and you'll have a cozy, warm drink to enjoy all day. {Picture Source}


18. Sub beans for meat. Beans are chock-full of lean protein and other key nutrients and many traditionally meat-filled meals can be made with them. For example, sub lentils or black beans for half of your ground beef when making taco meat. When you cook them both in taco seasoning, it will all taste the same. Another fix is to toss them into a casserole or soup in place of a portion of the meat. {Picture Source}


Remember, you don't have to start all these new habits at the same time. Just take it one step at a time. Becoming healthy is not about going super-healthy-crazy for a month or two. It's about slowly creating a lifestyle that you can not only live with, but enjoy.

Now, if you will excuse me, I need to get off the couch, go throw my Swiss Cake Roll wrapper away, and start taking some of my own advice. *Ahem*

What little things do you do to stay healthy?

Find more great budget tips for teachers here and check out some of our other New Year's Goals.

November 12, 2013

Amazon Gift Cards: The EASY Gift!


The teaching profession has a lot of great perks...but the salary is not usually one of them. Through the years, I've learned some tips and tricks that have helped me stretch my teacher's salary, all while working around my busy teaching schedule. During this series, I will be sharing them with you! 

Sometimes the very best budget-saving tips are less about saving cash and more about saving our precious time, needless hassle and resources. This tip would fall into that category.

As I was thinking about the (rapidly) approaching Christmas season, I started freaking out thinking about all the gift shopping that I needed to find time to do. It never fails that every year I always have that ONE person that I can't seem to find the perfect gift for. I think and think about what to get them, then look at the calendar and realize that it's the 23rd already!

What's a budget-conscious, totally over-scheduled girl to do? Why, turn to Amazon of course! I discovered a perfectly lovely little tip about their site a few years ago that has saved me from the last-minute gift-giving woes:


Amazon's gift cards ship free and arrive in your mailbox the very next day! Not only that, but they come complete with a card and envelope. They range from $10-$2000 ($2000!!), so they can be used for small gifts too. Take this one step further and they will allow you to send the card directly to the recipient or give the immediate gift of an egift card sent straight to their inbox.

The great thing about Amazon is that there are very few people who don't use it to shop at least once a year and you can get just about anything your little heart desires (don't believe me? Just check out this listing ...and this one ...and this one).

I've used these gift cards for birthday gifts, Christmas gifts, teacher gifts, etc. Love! I have also been the extremely satisfied recipient of these little babies. ;)

Here's a great little time-saving tip: grab a few gift cards just to keep on hand (they don't expire) and you have an instant arsenal of gifts-on-the-go. If you don't end up using them, just save them for the next time you find that can't-beat-it-gotta-have-it Amazon deal.

Have you ever used Amazon gift cards before? Do you have any time or money-saving tips that we could use this Christmas?

July 26, 2013

Save Money By Freezing Meals


The teaching profession has a lot of great perks...but the salary is not usually one of them. Through the years, I've learned some tips and tricks that have helped me stretch my teacher's salary, all while working around my busy teaching schedule. During this series, I will be sharing them with you! 

As the summer winds down, most of our focus will shift to getting our classrooms ready for the fall, but today, I'd like to talk about something we can do to get our homes ready for the upcoming school year.

In the past, we've talked about why owning a freezer can help you save money and shared a few freezer-inspired recipes to get you started.

Now, it's time to put that knowledge into action! The last few weeks of summer provide the perfect opportunity to get ahead of the game and do things that will make your school year have a smooth start.  One of those things is to stock your freezer with ready-made meals.


Not only will this make your evenings less hectic as you ease back into your school-year routine, but it will save you from the trap of the Take-Out Monster. It's all too easy to drag our weary bodies out of the school building after a long day of meetings and classroom set-up, think "There is NO way I can slave over a hot stove tonight," and drive to the closest take-out joint. Save the 1000 calories and $25 (at least!) and simply stock up your freezer now with quick and easy dinners.

Take it one step further and stash away some breakfast sandwiches and frozen pancakes to help your less-than-awake kids start the day with something that resembles a well-balanced meal.

Make packing lunches (for you and the kiddos) a breeze by freezing soup or PB & J sandwiches in bulk. Just grab one and go!

Here are a few steps to help you get started on stocking your freezer with meals:

1. Make a list of freezer meals your family might enjoy.

Search Pinterest or Google for freezer-ready recipes. I've compiled a few of my favorites to give you a running start.

As you find recipes you think your family will like, sort them into 3 categories: Breakfast, Lunch and Dinner.

TIP: You may want to make a new dish for dinner before you make two or three of them to freeze. You know, just to make sure you actually like it and all :)

'NOTHER TIP: Take a second look at the recipes you are already making. Google whether or not you can freeze it. You may be surprised at how many of them can simply be frozen and reheated. The next time you make a meal, double the ingredients and freeze the left-overs. Wham! Instant easy meal!

2. Stock up on supplies.

Start small. Pick a few dinners that you can make 2 or three servings of. Write down the list of ingredients you will need and add them to your shopping list.

Choose a day in the next week when you can make these meals. One day. One Mess. Dinners for a week (or two!). Yay!

Some essential 'freezer dinner' items you may want to stock up on: 
3. Stay organized.

Make sure you label everything clearly so that you can tell what's in each container when it is in the freezer. No Mystery Meat here!

Keep the recipes and reheating directions in a central, convenient place. The goal is to save time getting dinner ready, so if you spend 25 minutes hunting down the directions on how to defrost and reheat the meal...well, that kinda defeats the point.

Make a mini plan that lists out what days you will eat your freezer meals. This is helpful because you can look at tomorrow's meal and know if you need to let anything defrost overnight.

So that's it! Just a few simple steps and you can cross off one major thing on your evening to-do list....and save a little cash!


Have you ever stocked up the freezer before? Did it help save money or keep your day stress-free?

June 28, 2013

Budget Teacher: Follow money-saving blogs


The teaching profession has a lot of great perks...but the salary is not usually one of them. Through the years, I've learned some tips and tricks that helped me stretch my teacher's salary, all while working around my busy teaching schedule. During this series, I will be sharing them with you! 

This week's tip....

Follow money-saving blogs.


There are many blogs out there that are dedicated to helping people save money. Sorting out the ones that are the most helpful can be a time-consuming task that we teachers just don't need to surrender our hard-earned minutes to. I've tried to do the hard work for you!

Over the years, I have discovered a few tried-and-true sites that always seem to be on top of the latest deal or provide some of the very best money-saving tips.... and I'd like to share them with you:

Money Saving Mom

This is a well-rounded site that not only lets you know about individual deals that come up (ex: free Kindle books), but gives you well-written articles and advice on how to save money in almost every area of your life. 

Some of my favorite series on this site:
  • We Paid Cash! (Encouraging stories of folks who didn't go into debt to accomplish a goal.)

The Frugal Girl

This is a delightful blog written by Kristen, a mother of four and homeschool teacher. She dispenses money-saving advice and frugal living tips with a cheerful and positive attitude. Her outlook on life is so uplifting; she encourages me to be a better person just by reading her posts. Seriously guys, I totally want to be her when I grow up! ;) 

Some of my favorite posts on her site:
Swaggrabber & Hip2Save

Both of these sites post online and in-store deals throughout the day. I typically check these sites once or twice a day since they post multiple deals every hour as they discover them. Some great deals I've gotten off these sites in the past:
  • $60 round-trip airline tickets to see my parents (we normally pay $280 each- I did the happy dance when I snagged this deal!)
  • Discounted gift cards for itunes, Amazon, and many other stores
  • Most of the Christmas presents for my kids were 50-80% off since I purchased items that were on sale (found on these sites, of course!)
  • Paid $2 for a $25 gift card to our favorite restaurant. I think I bought about 8 of those- hey, they never expire! Can anybody say 'date night?!'

How to organize the blogs you follow: a simple tip!

While we want to save money, it would also be nice to not waste all of our time checking sites to find new ways to pinch pennies, right? One way to keep up with new ideas on valuable blogs like these is to subscribe to the through a reader or through email.

When you subscribe through email, you will receive an email each time the blog you are following publishes a new post. In the case of Swaggrabber, Hip2Save, and Money-Saving Mom, they will just email you once a day with a list of the deals they posted that day (since they post so many and don't want to clutter up your inbox.)

A blog reader works like a notification service. Each time a new post is published on one of the blogs you follow, the blog reader will add that post/article to your list of posts to read. You just log into your account and there are new articles waiting for you to devour. Think of it like your own personalized magazine that only has articles that you want to read. Two readers I recommend are Feedly and Bloglovin' (Bloglovin' is the one I personally use).

And just in case you didn't know...you can follow this blog too!  Follow using a blog reader (rss feed) or through email (on the left-hand sidebar). 

Do you have any money-saving sites you think we should check out? Oh, do please share!

Find more great budget tips for teachers here.

June 8, 2013

How Schools Can Raise Money Using Amazon


The teaching profession has a lot of great perks...but the salary is not usually one of them. Through the years, I've learned some tips and tricks that have helped me stretch my teacher's salary, all while working around my busy teaching schedule. During this series, I will be sharing them with you! 

If you're new to the whole Budget Teacher Guide thing, you should take a moment and check out some of past money-saving tips here. You won't regret it...and neither will your wallet!

Moving on to today's tip:

I am super-duper over-the-top excited to share this budget tip with you! It's something I've been looking into for a while and I finally took the plunge. Now it's your turn ;)

As many of you know, when I started this site, my goal was two-fold:

  • Create a place where I could encourage and help other teachers create a successful classroom (while feeding the 'teacher side' of me that was going into withdrawl after choosing to stay at home with my son).
  • Do something to contribute- even in a tiny way- to the bottom line of our household.
I had done some research and wanted to make sure that the ways I chose to make money using this site would never compromise the integrity of the content. In other words, I didn't want to ever do a review for a product I didn't support or have ads with Pamela Anderson's latest lingerie line being shown.

The answer I stumbled across: The Amazon Associates Program

Now, since this post is supposed to be all about how YOU can save or  make a little money, I will skip over the details of how this program works for me and focus on how you can use it. 


We all like to give back, but we often don't know how to do that when our cash flow is a little tight. The Amazon Associates Program is one way we can give back to our schools without costing us a cent.

What is the Amazon Associates Program?


Amazon.com has an program where they will pay associates a small percentage of a sale (4%-15%) if the sale is made through a link on the associate's website...like, say, your school's website. See where I'm going with this?

Here's the idea in pictures:
amazon affiliate program


Whenever someone uses an associate link to get to Amazon, Amazon will track their purchases over the next 24 hours and that associate gets a percentage of the sale price deposited into their account. Here's how the commissions are structured (per month):


How can my school use this program?

First, have them sign up to be an associate here. It's free! They will receive a link with a unique ID number in it. Place that link on the school's webpage.

Then, have parents bookmark the site. Explain that when they want to purchase something through Amazon, they can simply click on the school's link first and then do their shopping. One extra click on their part and you get an incredibly easy fundraising tool! 

Need more ideas on how to incorporate this program in you're school's fundraising efforts? Here are some great ideas from Dollars For Schools.

When I realized that this program could benefit schools and other non-profits, I was ecstatic! I mean, how many times a day week do I purchase something from Amazon? If I took an extra 3 seconds of my time, I could support a good cause and all without leaving my couch. Works for me!

What if my school won't use this program?

Well, that would be a real bummer for them. But don't let that stop you from giving back! Find another worthy organization that is using the Associates program and bookmark their site. There are many great ones out there...but if you're still at a loss, you can always support my site. ;)

Just click on the Amazon link in the upper right-hand corner before you do your shopping. Easy peasy.

It would be an honor for you to support me, but before you do that, I'd recommend reading this and this. It will give you an idea of what this site stands for and may help you decide if that's something you want to support or not. 

Whether you use my link or not, I encourage you to use this tool to help others. After all, it doesn't cost you one. little. cent. and it could make a huge difference for someone else.

Like this money-saving tip? Read more ways teachers can save and subscribe to my feed so you don't miss any future tips!

May 5, 2013

Organize Your Classroom Using Recycled Items


The teaching profession has a lot of great perks...but the salary is not usually one of them. Through the years, I've learned some tips and tricks that helped me stretch my teacher's salary, all while working around my busy teaching schedule. During this series, I will be sharing them with you! 

This week's tip....

Use recycled items to organize your classroom. 

I don't know about you, but this chick could spend days walking around stores like The Container Store or Bed, Bath, & Beyond, drooling over all the options I could purchase to help me organize my life.

But drooling is about all I could afford to do because- dude! - those little plastic boxes not cheap!

To help my budget and my need for order to coexist peacefully, I realized I needed to get creative when organizing my classroom and use recycled items.

Here are a few ideas:


  • Milk jugs. Cut the sides off of milk jugs to create easy-to-hold colored pencil containers like Recyclart did:
  • Cereal boxes. Cut the top off of a cereal or cracker box, about three inches from the base of the box. Use the bottom as a desk drawer organizer. This is perfect for holding sticky notes, pens, paper clips, and other small things. If you use skinny boxes, they make great organizers for your chalkboard tray. They can hold magnets or chalk. Almost Unschoolers did this with her crayon drawer:
  • Cereal boxes can also be used to store folders, notebooks, or magazines (see instructions over at Apartment Therapy). 

  • Paper box tops. Use the lids that come on those huge reams of paper (snag them from the copy room!) to organize papers or student folders. Line them on the top of a bookshelf with labels for each class you teach. Other labels could include: "Place notes to teacher here" or "Turn in homework here." Decorate the front with colored duct tape and use a permanent marker to write on it. (Then you can always use this trick to change the writing if you ever need to.) The nice thing about these box tops is that they are pretty large, so they come in handy for items that are bigger than standard-sized papers. Miss Battista used the box tops in her room to create desk drawers for each student. Brillant!

  • Milk crates. Ask your cafeteria workers. They often have many of these left over from their milk shipments every week. These can be used to house textbooks, recess balls, or just about anything! Stack them on top of each other and secure with zip ties to create a bookshelf. Turn them over and place a cushion on top to create cute seats like TeacherPippi did:

  • Scrap fabric. Create some easy and cute no-sew valences for your classroom windows by using scraps of coordinating fabric (old t-shirts work well too!). Check out this cute one that Jillee over at One Good Thing By Jillee made:
  • Glass Jars. The picture above also shows the painted jars that Jillee made. I've done this myself and it couldn't be easier. Simply take an old paintbrush and paint (I used latex) and paint the inside until the glass is covered. You may need to do a second coat to cover up any brush strokes that show through. To use it for pencils, scissors, etc., I would suggest rolling up a piece of card stock and inserting it inside so that the paint doesn't get scratched. You can also put fake flowers in these for a pretty touch on a shelf or table. 
  • Egg Cartons. These nifty little containers are perfect for storing small items in your desk drawers. (See more at How-To-Do-It)

Do you have any low-cost organizing ideas? We'd love to hear them!

Find more great budget tips for teachers here.

April 24, 2013

How to Save Money: using multiple savings accounts


The teaching profession has a lot of great perks...but the salary is not usually one of them. Through the years, I've learned some tips and tricks that helped me stretch my teacher's salary, all while working around my busy teaching schedule. During this series, I will be sharing them with you! 

This week's tip....

Use Capital One 360 (an online bank) for your savings account. 


Really, I recommend using any bank that allows to create multiple savings accounts, this is just the one that I personally use so I feel comfortable pointing you in that direction.

Disclaimer: These are my referral links and I do get a small bonus if you use them. If you find this information helpful, I would be so very happy if you used my referral link. If you are not comfortable with this, you can go to CapitalOne360.com to sign up instead. (And I promise not to hold a grudge) ;) 


What is Capital One 360?

Capital One 360 (formerly called ING Direct) is an online bank. They advertise that without the overhead of a brick and mortar outfit, they are able to offer higher interest rates for their savings accounts than most banks. This may or may not be true- I never really paid attention to the interest I was making because it wasn't the reason that I was using this bank. That reason, my oh-so-interested friends, is the fact that Capital One 360 allows you to create multiple savings accounts when most banks only allow one per customer.


What would I do with multiple savings accounts?

So glad you asked!

It's like this: You know how you just feel better when everything in your house is put away in the exact place it belongs? So when you need that favorite pair of scissors they are *gasp* actually in the drawer? What if you just threw everything in your entire house into one room? Things would just naturally get lost in the pile. Food would expire and become useless. Items would break and never get fixed. Things would get wasted.

That's kinda what your money is like when you just put it all in one account. You know you need to set aside money for your son's preschool, the trip to Disney next year, Christmas presents, the once-every-year tax bill (eew), the new tv your husband wants needs, a newer car, and a million other things.
When all that money just gets lumped together something strange happens: it just seems to wander off. Ten dollars here, five dollars there and soon, that extra money you were going to use to pay for Johnny's preschool is somehow just not there....but you're not exactly sure what you spent it on.

Capital One 360 allows you to create multiple savings accounts so you can keep all your savings goals separate. 


How I use my multiple savings accounts:

We save up for the once-a-year expenses we know are coming. Some bills (or fun expenses) can be predicted. We split the cost between 12 months and deposit that amount each month into that account. Here are just some of these type of accounts that we have:

  • Christmas Gifts
  • Taxes & Fees
  • Anniversary Date
  • Yearly Vacation

We save up for big items that we know we will need to purchase in the future. We choose an amount each month that we are comfortable with and have it deposited automatically into that account. Here are just some of these type of accounts that we have:

  • New Car
  • New Computer
  • Auto Repairs (because repairs WILL happen, ya know?)

We use it to save up for one-time large items or goals. When extra money finds it's way into our checking account, we don't wonder what we'll do with it or spend it right away on impulse buys. It goes right into one of these 'goal accounts.' When we've reached one goal, we start chucking money at the next one. Here are just some of these type of accounts that we have:

  • Preschool for our son
  • Extra spending money for our vacation this summer

We've set up an automatic payment for some of these accounts. Each month, a certain amount is automatically taken out of our checking account (at a bank in our town) and transfered to these accounts. We treat it like just one more bill, but this time we're paying ourselves. 

Why do I love using Capital One 360?
  • Automatic transfers. As a teacher, I didn't have a lot of free time to do one more money management thing. I needed something that was automatic and Capital One 360 provides that for me. I set a certain amount to be pulled out of my bank account on the same day every month and it automatically happens. 
  • It gave us a tangible way to see our progress on each of our savings goals. We could log on at any time and see which accounts were fully funded, which ones we were working towards, and how much we had in our total savings.
  • Our money 'belonged' somewhere. Even though it was technically all still our savings and we could spend it any time we wanted, it was hard to justify pulling money out of the vacation account to pay for a new tv. It was all in our heads, but that hesitation to use money that was already 'assigned' somewhere helped us avoid a LOT of needless spending. 
Want to try this out for yourself? Sign up for a free account here

Do you use Capital One 360? Share your thoughts about it with us!

Find more great budget tips for teachers here.


(Capital One 360 did not compensate me for writing this post. All opinions are my own and stem from the fact that I've had a very positive customer experience with them. I do, however, get a small referral bonus is you sign up using my link. If you are not comfortable with this, you can go to CapitalOne360.com to sign up instead.)

April 20, 2013

Make Your Own Laundry Detergent


The teaching profession has a lot of great perks...but the salary is not usually one of them. Through the years, I've learned some tips and tricks that helped me stretch my teacher's salary, all while working around my busy teaching schedule. During this series, I will be sharing them with you! 

This week's tip....

Make Your Own Laundry Detergent!


... no laughing, 'kay? 

To those of you who are thinking: "This lady has officially crossed over into CrazyTown," I'd like to invite you to come see me there...you know, just to visit for a bit. ;) 

If that thought didn't cross your mind when you read the title of this post, it's because you're already a resident of CrazyTown and you're most likely one my neighbors! 

Either way, I would encourage you to test this tip out just for fun. There's not a huge monetary investment on the front end and if you totally hate it, you can simply wander back over to the land of Tide.

Why does this work for me?

It's a big money-saver without having to commit a lot of time or sacrifice on quality.
I didn't have a lot of free time between grading papers, planning lessons, contacting parents, and trying to keep up with things at home. Most recipes are fairly time-consuming, but then I stumbled across a powdered recipe that was pretty simple. Since I use the powder version as opposed to the liquid one, it's super quick and easy to whip up a batch of this. (The liquid one requires boiling, cooking, melting, etc.)

Money Saving Queen calculated the savings for us. You can visit her site for a more detailed look, but the final numbers were:

       40 Loads Homemade Detergent: $2.80

       40 Loads of Tide (at Walmart): $9.24

It's easy to find the ingredients. Since my shopping options are limited where I live, I was super-excited to find a recipe that included three simple ingredients that I can buy at Walmart. Bonus: They are all in the same section of the store!

It's easy to store. I don't have to keep large jugs of detergent everywhere. I just keep my container of powder on the shelf, along with a tablespoon measuring scoop.

One less reason to make a last-minute grocery store run. I can buy one box of borax, one box of washing soda, and a few bars of the soap and keep those in the cupboard. If I run out of detergent, I have everything on hand to make a new batch in just a few minutes.

Let's get started! 

First, you'll need to get the following:

1 cup Borax (found in the laundry detergent near the Clorox or stain fighting aides)

1 cup Washing Soda (NOT baking soda- they are different. This can be found by the Borax)

`1f1 bar Fels-Naptha Soap (also by the Borax)


Grate the Fels-Naptha bar using a cheese grater, zester or your food processor. I prefer using my processor as it makes it into a sand-like texture, but either way works.


Combine the grated soap, the Borax, and the Washing Soda in a bowl and mix thoroughly.


Transfer the mixture to a mason jar or other container.


Use 2 Tbsp per load (for a typical large-sized load of laundry). I use 2 Tbsp when my washer is set to the 'super' load size. While I don't have an HE washer, everything I've read said that this is fine to use since it's a 'low-sudsing detergent.'


The Recipe:


Ingredients:

1 cup Borax (found in the laundry detergent near the Clorox or stain fighting aides)

1 cup Washing Soda (NOT baking soda- they are different. This can be found by the Borax)

1 bar Fels-Naptha Soap (also by the Borax)

Directions:

1. Grate the Fels-Naptha bar using a cheese grater or your food processor. I prefer my processor as it makes it into a sand-like texture, but either way works.

2. Combine the grated soap, the Borax, and the Washing Soda in a bowl and mix thoroughly.

3. Transfer the mixture to a mason jar or other container.

For each load

Use 2 Tbsp per load (for a typical large-sized load of laundry). I use 2 Tbsp when my washer is set to the 'super' load size.


Try it out for yourself. Then decide.


I have friends who have tried this and hated it. They didn't think it cleaned their clothes very well. (Though they said it did a great job cleaning their machine- so that's something!)

I also have other friends (and some family members) who have used this forever and absolutely love it.

I would encourage you to make a small batch and try it out for yourself. Or better yet, find a friend who uses a homemade detergent and see if you can have a tablespoon or two to test it out on your clothes. If it works, great. If not, oh well. There's always the next budget tip to try, right? In the end, it's all about finding what works for you and your family.

Do you already make your own detergent? Do you love it...hate it? What works for you? 

Find more great budget tips for teachers here.

April 16, 2013

Organizing Cart Deal

Wow! I just had to share this deal that Amazon's running right now for all you organized (or wish-your-were-organized) teachers!

Amazon has the ECR4Kids Mobile Organizer marked down from $89.99 for $35.28 (61% off!) and it ships free!


Details:

  • 10-drawer mobile organizer
  • Steel frame and rails; 4 casters, 2 locking
  • Perfect for the home, office or garage
  • Drawers in assorted colors

These prices don't usually last very long!

April 6, 2013

Menu Planning- Save Money and Time!


The teaching profession has a lot of great perks...but the salary is not usually one of them. Through the years, I've learned some tips and tricks that helped me stretch my teacher's salary, all while working around my busy teaching schedule. During this series, I will be sharing them with you! 

Menu Planning
  
This is been the single biggest timesaver for me both during the school year and the summer, as well as a great way to save money on my grocery & eating out budgets

Menu planning can be an intimidating process. When I first started thinking about planning out my menu, I thought: "I don't even know where to start" and "I don't have the time to plan out my menu." If you have those same concerns, this guide will hopefully help make the whole process easy and manageable for you.

First, let me start by saying that everyone has their own system for organizing different parts of their life and this is just works for me.  

Why do I LOVE menu planning?

It saves me a TON of time and stress during the week. This is what my nights used to look like: 
  • "Hmmm, what's for dinner?" (searches cookbooks for 5 minutes)
  • "Ooh this one looks good! Do I have the ingredients?" (goes to pantry) 
  • "Yes. Yup. Good." (goes to fridge)
  • "Got that. Got this. Crud. No peppers. What else could we have instead?" (goes back to cookbook and repeats process five times until I pull a frozen pizza out or declare it a Micky D's night)
Sound familiar? Having a menu planned out allowed me to look at the menu, see what we were having and know that all the ingredients were already there.

It also allowed me to plan ahead. If I knew in the morning that we were having chicken barbecue sandwiches, I could throw all the ingredients in the crockpot before I left for work and have dinner waiting for me when I returned. 

I could also save time by planning meals back-to-back that used leftovers. For example, I could throw some extra chicken in with the barbecue sauce and use the leftovers the next day for quesadillas. Two dinners....one prep time. 

It saves me a lot of money. How many times have you walked through the grocery store and thought "Oh, that looks good...I'm sure that would be great with some dinner this week" only to buy it and never end up using it? Since I know what we are going to be eating for the week, I don't buy a lot of extra food that ends up spoiling in the fridge. This has cut down on our food waste significantly (which equals more money in my pocket too!).

Also, I often gave into the temptation to just avoid the hassel of dinner by declaring it an eat-out night. That happens much less frequently now that preparing a meal takes less thought.

Start Small

I find that planning out my whole month works the best for me. I only have to sit down once every few weeks and plan. However, others find that one or two weeks at a time works better for their schedule. If you are a bit unsure of this whole menu planning thing, start small. Plan one week at a time and if that works, increase it to two. Experiment until you find the plan that works best for you.

Two Ways To Make a Plan
I tend to be very computer-focused. In fact, a friend of mine recently told me that if she could paint a scene that represented my daily life, the picture would have me standing behind the kitchen island, running the world from my computer. So true. I do everything on my computer, including my menu planning. 

There are others, though, who prefer to go the paper-and-pencil route. They like being able to cross things off and add notes.

So, to help out both camps, I am going to show you two different ways you can choose to create your menu plan. 

Option 1: The Paper Plan


Take a set of colored 3x5 cards (or just use different colored highlighters) and assign a meal category for each color. Here are some ideas for categories:
  • chicken
  • pork
  • meat-less
  • egg
  • seafood
  • beef
  • pasta main dish
On the cards designated for chicken, write a meal you make often that has chicken as the main dish. Underline the main dish and write the sides you would normally serve with that dish. You can always change things up and serve different sides...these are just suggestions for those nights when you don't want to think about what you're going to eat. 

Repeat this process for each color card. You want to end up with 15-30 meals (or more, if you have a lot of family favorites). 

Once you have all of your cards done, take 7 small pieces of paper and write one day of the week on each one. Arrange them from left to right on the table in front of you. We are essentially going to create a calendar using one card for each day. 

Shuffling through your recipe cards, choose a meal that you will make for each day and place the card under that day's name. Your table will end up looking something like this:


If you are doing a full month, you will have four cards under each day to designate the four weeks in that month. You may need have multiples of the same card. For example, we usually plan to make pizza for Friday nights, so if I were planning my entire month out, I would need to have four pizza cards to fit under the Friday heading.

When you've filled in each day with a card, double check that you've given yourself a good variety. You don't want six pink ("beef") cards in one week and five green ("seafood") cards the next. Then, get a blank calendar page or a just a quick calendar you've drawn onto a piece of paper. Jot down the meals you've planned on having and return the cards to the stack to use the next time you need to plan. 

You're Done!

Take this one step further: Write the ingredients needed for the recipe on the back of each card. When you have selected your menu for the week and are ready to go shopping, just flip the cards over for a complete list of ingredients you need to buy.

Option 2: The Digital Plan

Create a table in Word that has 7 columns (you may end up changing this number based on your meal categories) and 10 rows. Write the name of one meal category in the top of each column. Some category ideas include:
  • chicken
  • pork
  • meat-less
  • egg/"breakfast for dinner"
  • seafood
  • beef
  • pasta main dish
Using 'chicken' as an example: In the boxes under the chicken column, write a meal you make often that has chicken as the main dish. Include the sides you would normally serve with that dish. You can always change things up and serve different sides...these are just suggestions for those nights when you don't want to think about what you're going to eat. 

Repeat this process for each category. You want to end up witha total of 15-30 meals (or more, if you have a lot of family favorites). 

Once you have all of your meals on your chart, create another new document with another table. This table will need 7 columns (one for each day of the week) and 1-4 rows (one row for each week you will be planning out).

Look at the list of meals you've already made on the first table. Start to copy and paste them into your monthly/weekly plan until you've filled up each day.

When you've filled in each day with a meal, double check that you've given yourself a good variety. One easy way to do this is to use the highlight tool or font color tool to color each category a different color. As you paste meals into your plan, you can quickly scan it to see if you have a variety of colors, which tells you that you have a variety of meal types. 

Save your original meals list so you can use it the next time you plan. You can also add new meal ideas to it as you find ones your family loves.

Print the menu plan or save it to your desktop for easy access.

You're Done!


Take this one step further: Before you start to plug in your meals onto your month/week plan, go through and write a quick note on days that have things that will affect dinner. For example, if you have  an evening event you need to get to, you'll need a quick and easy meal that day. If you have a dinner engagement, you won't need to plan a meal for that night.

Alright. That was a lot of information! I hope this helps you start the process of menu planning. It really IS a freeing and time-saving practice.

Remember, start small. Do a few days or a week at a time. Then work your way up to whatever length of time works for you

Do you already do a menu plan? Do you love it...hate it? What works for you? 
Related Posts Plugin for WordPress, Blogger...